Cutting the Master Die
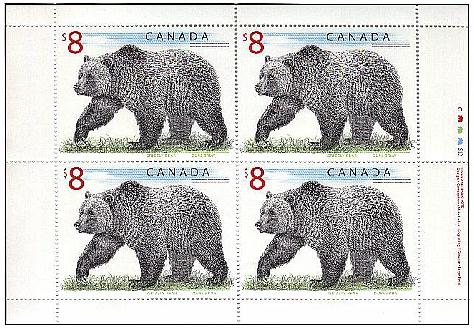
Grizzly History
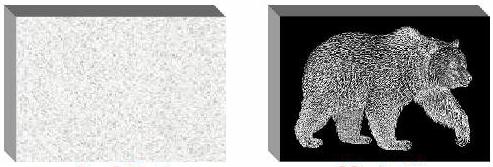
In the line engraving method, the portions of the stamp design that are meant to be white when printed are left raised, and the part of the design that is meant to be coloured is engraved out of the surface of a steel block.
An original or master die of the basic design is engraved in recess as a reverse image. Fine lines are cut into the steel, where the colour is supposed to be, to hold the ink during the printing process.
Cutting the Master Die
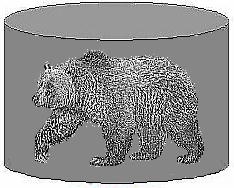
Once hardened, the master die is used to prepare a transfer roll, with the design in relief, that is, the raised portions of the design on the master die become indented portions of the design on the transfer roll. This roll is a soft steel cylinder and is placed in a transfer press to be rolled, or rocked, under extreme pressure over the die. A die, when placed on a device such as a transfer roll, is often referred to as a roller die.
Using the Master Die to Make the
Roller Die
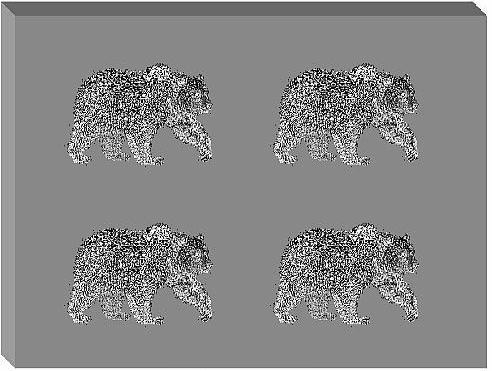
The transfer roll is then used to press the subjects, by a rocking motion, on the printing plate. This process too needs great pressure, and great skill and precision is needed to achieve the required result.
Pressing the Subjects onto the
Printing Plate
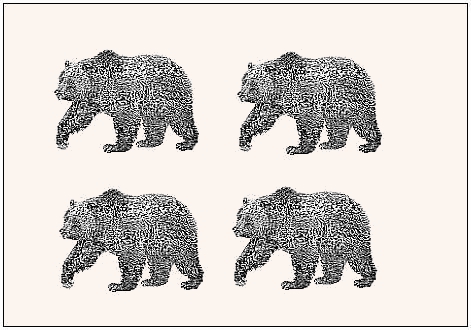
Finally, the plates are inked and used to print the design onto sheets of paper. The paper is pressed onto the plate so that the ink, which is contained in the grooves of the design, makes contact with and colours the paper. This pressing action results in a textured look and feel to the resulting image.
Printing the Engraved Images
In the case of the Grizzly, the sheets are completed by further printing the remaining colours using the lithographic process. The sheets are then perforated (13+) and severed into panes before being issued to post offices and retail outlets.
The Final Printing
Note: The explanation of the line engraving method of printing that is depicted on this page is meant for illustrative purposes only and may differ somewhat from the actual steps used in the making of the Grizzly Bear stamp.
Updated: 1 Nov 97